DaVinci Resolve Color Management: CST vs ACES vs DaVinci YRGB Color Managed
Stop guessing LUTs and clipping dynamic range. Here is the ultimate practical guide to choosing the right color management workflow in DaVinci Resolve for clean, natural skin tones and maximum dynamic range.
💡 Quick Summary for Busy Editors
- Color Space Transform (CST) Nodes give you 100% control over node placement and are perfect for mixed-camera timelines (e.g. Sony S-Log3 + iPhone Log).
- DaVinci YRGB Color Managed (RCM) is automatic and ideal if all your footage is shot on uniform log cameras with accurate metadata.
- ACEScct is the film industry standard for multi-VFX pipelines and heavy CGI compositing.
- Golden Rule: Never place creative look LUTs before your input color space transform! Always transform your log footage into a wide working color space first.
Why Color Management Matters More Than Any LUT
When beginners first import flat, grey LOG footage into DaVinci Resolve, their instinct is usually to drag a heavy Rec.709 LUT onto the first node. Half the time, highlights clip into pure white, shadows crush into noise, and skin tones turn orange.
The reason? A LUT (Look-Up Table) is a static math formula. It assumes your camera shot with exact lighting, exposure, and color sensor math. But a Sony FX3 shooting S-Log3 interpret light completely differently than a Canon C70 shooting C-Log3 or an iPhone 15 Pro shooting Apple Log.
Color management solves this by mathematically translating your camera's raw sensor gamut (colors) and gamma (contrast curve) into a unified intermediate color space — usually DaVinci Wide Gamut / Intermediate — before outputting to Rec.709 for screens.
The 3 Major Color Workflows Compared
Here is how the three main color management methods stack up in real-world production:
| Workflow Method | Control Level | Best Used For | Pros & Cons |
|---|---|---|---|
| 1. CST Node-Based (Manual) | Maximum (100%) | Mixed camera shoots, custom LUT pipelines, freelance projects | + Total node control, no hidden global shifts. - Requires placing CST nodes per clip. |
| 2. DaVinci YRGB Color Managed (RCM) | Automatic / Project-Wide | Single camera shoots, fast turnarounds, YouTube videos | + Instant log-to-Rec.709 conversion across all clips. - Auto-detect can fail on clips without NLE metadata. |
| 3. ACEScct Pipeline | Strict Industry Standard | Feature films, VFX heavy compositing, multi-studio pipelines | + Universal VFX exchange standard. - Steeper learning curve, rigid node rules. |
Method 1: The CST (Color Space Transform) Node Workflow (Recommended)
For 90% of solo filmmakers and freelance colorists, using **CST Nodes in standard DaVinci YRGB mode** is the most flexible, reliable method.
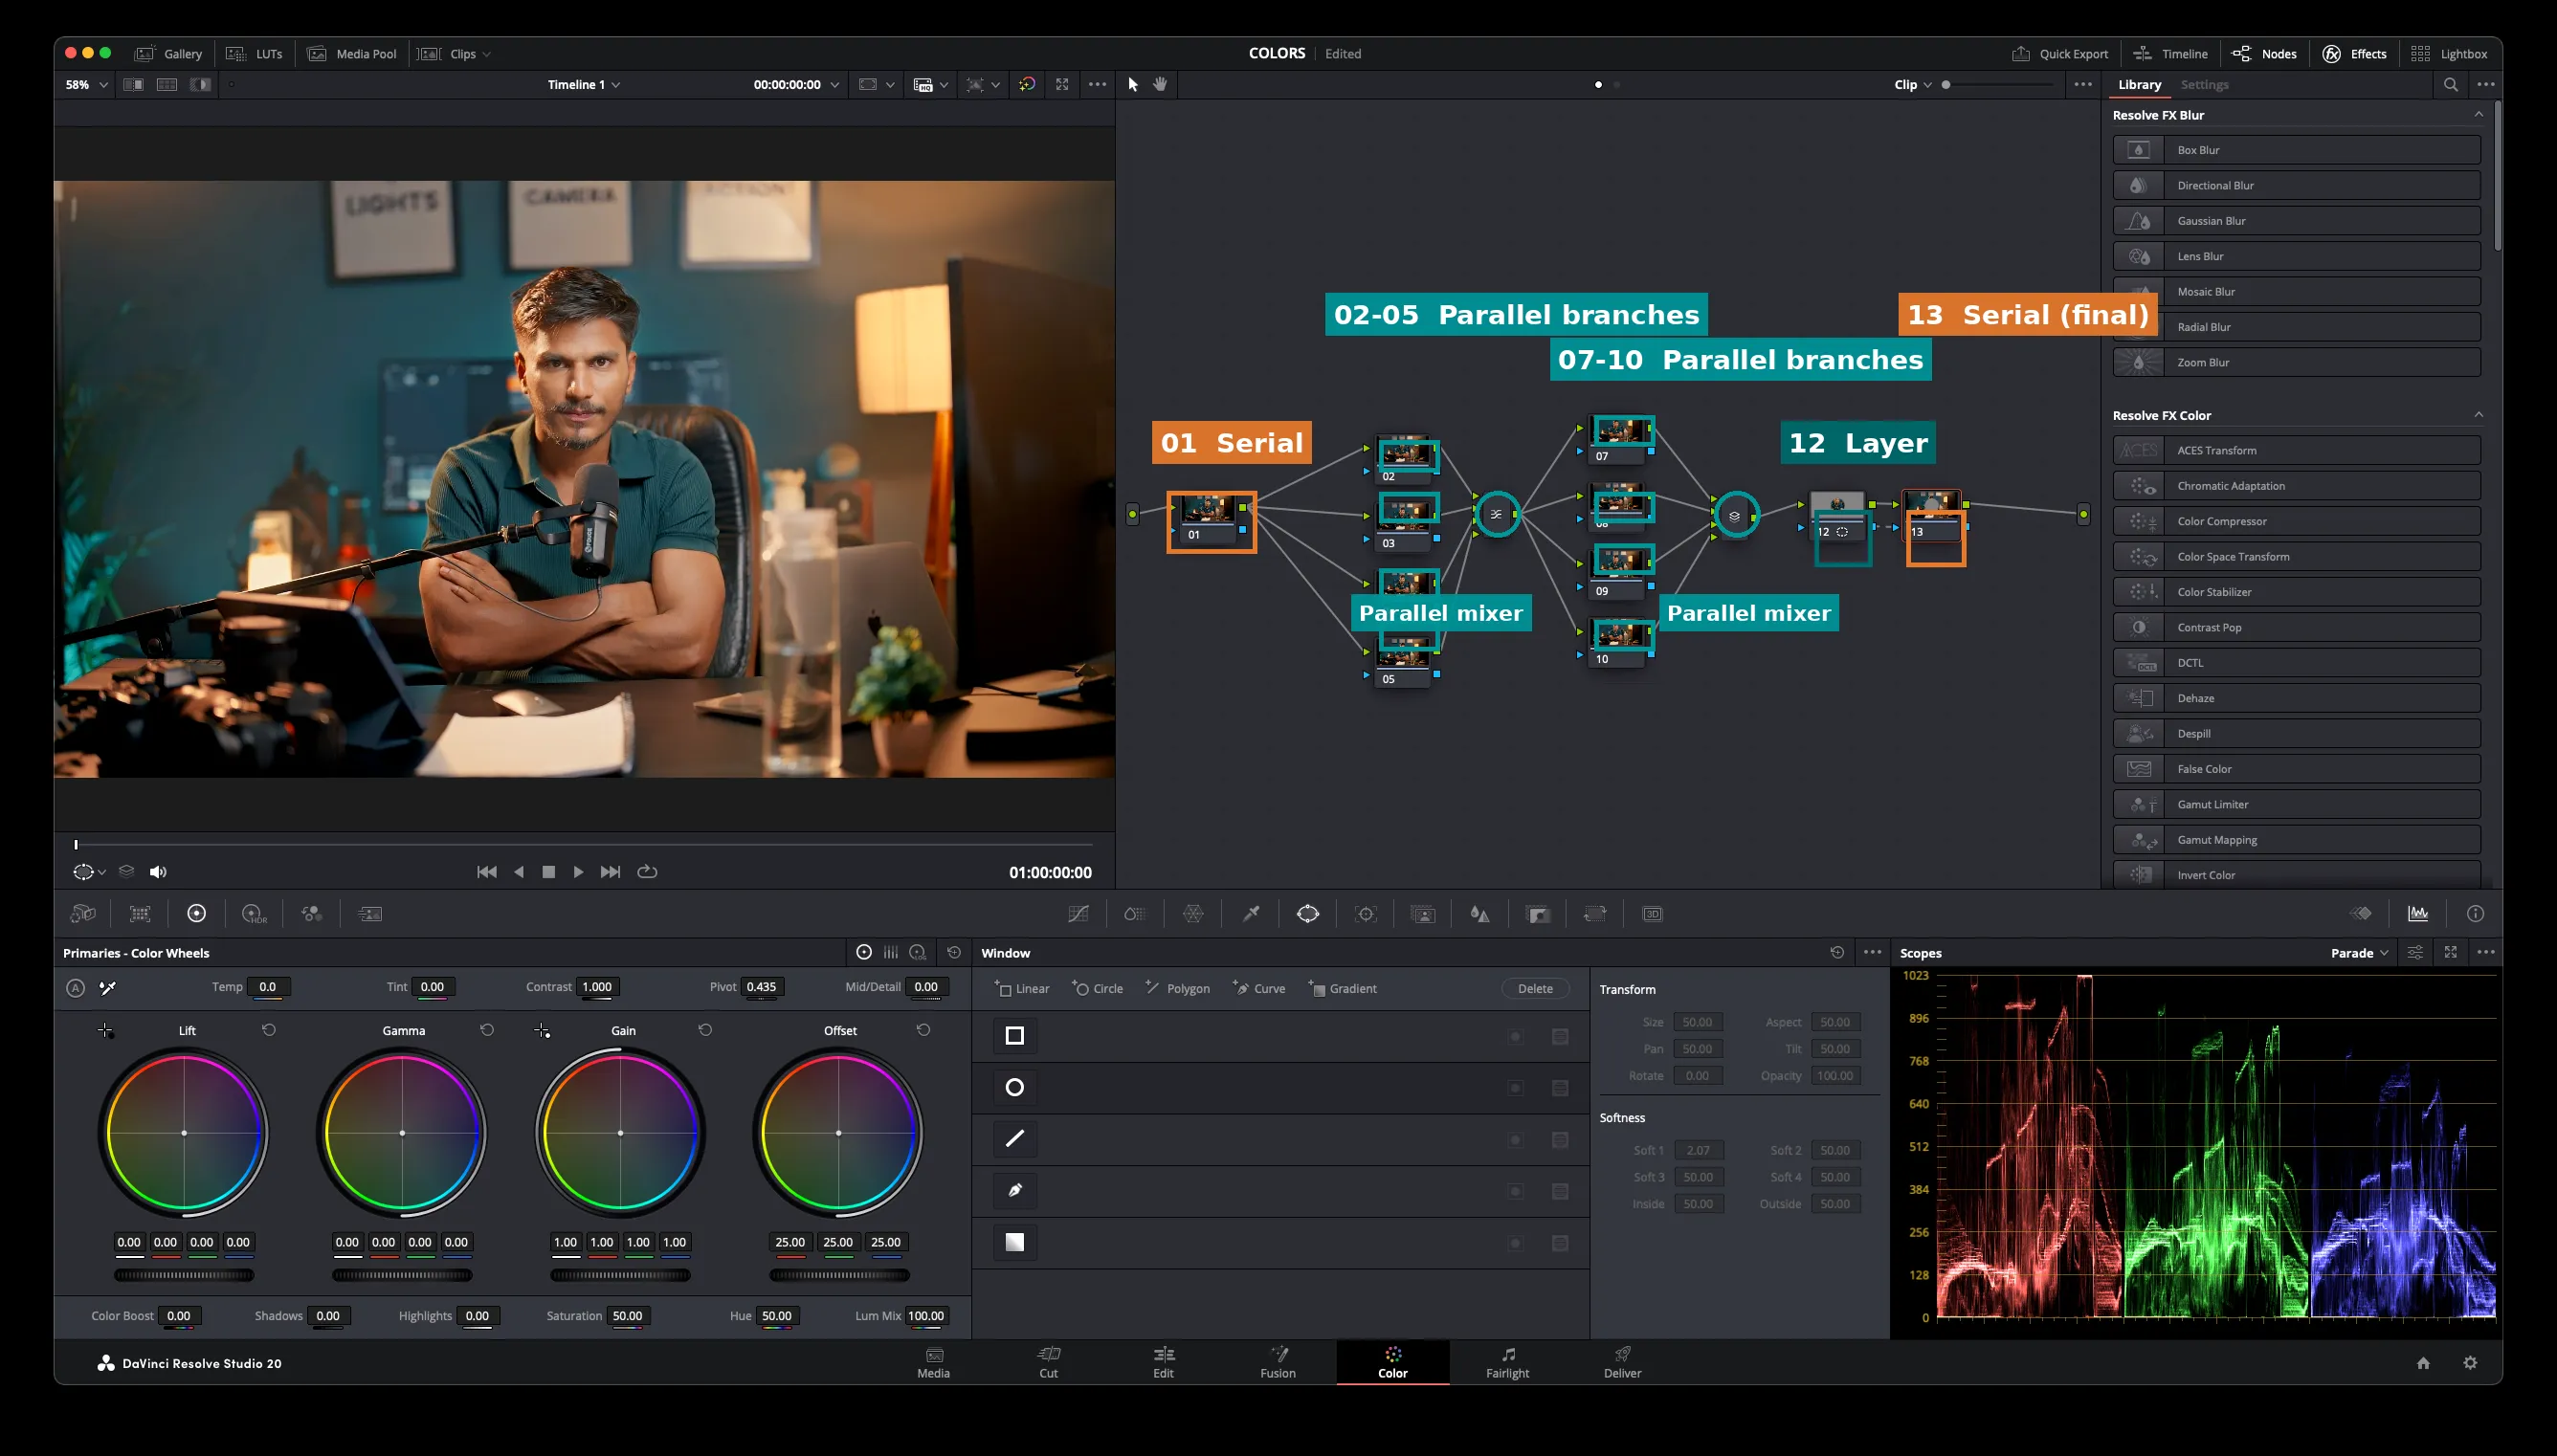
🛠️ How to Setup a Dual CST Node Structure
- Set Project Settings: Go to
File > Project Settings > Color Management. SetColor Scienceto DaVinci YRGB. - Create Node 1 (Input CST): Add a CST FX node to Node 1.
- Input Color Space: Sony S-Gamut3.Cine / Canon Cinema Gamut / etc.
- Input Gamma: Sony S-Log3 / Canon Log 3 / etc.
- Output Color Space: DaVinci Wide Gamut
- Output Gamma: DaVinci Intermediate
- Grade in the Middle: Add primary grading nodes (Exposure, White Balance, Skin Tones, Contrast) between Node 1 and Node 9.
- Create Node 9 (Output CST): Add a final CST node at the very end of your node tree.
- Input Color Space: DaVinci Wide Gamut
- Input Gamma: DaVinci Intermediate
- Output Color Space: Rec.709
- Output Gamma: Rec.709 (or Gamma 2.4 for Mac/Web)
Method 2: DaVinci YRGB Color Managed (Automatic Workflow)
If you are working under tight deadlines for YouTube or social media, DaVinci's built-in **Color Managed (RCM)** engine automates the entire process across your timeline.
- Open
Project Settings > Color Management. - Change
Color Scienceto DaVinci YRGB Color Managed. - Uncheck Automatic Color Management and set
Color Processing Modeto HDR DaVinci Wide Gamut / Intermediate. - Set
Output Color Spaceto Rec.709 Gamma 2.4 (or Rec.709-A if exporting specifically for Apple QuickTime / Safari playback).
Now, whenever you drop a log clip onto your timeline, DaVinci automatically converts it to Rec.709 while performing all internal color mathematical operations in wide-gamut floating-point depth.
Method 3: ACEScct for Multi-Camera & VFX Pipelines
ACES (Academy Color Encoding System) was created by the Academy of Motion Picture Arts and Sciences. It ensures that regardless of whether footage was shot on an ARRI Alexa, RED V-Raptor, or Sony Venice, every clip is normalized into a massive 32-bit floating-point color space.
Use **ACEScct** (not ACEScc) because ACEScct provides a natural, logarithmic toe in the shadow region, giving color wheels a familiar feel similar to traditional film stock grading.
💡 Pro Colorist Workflow Tip
When grading in DaVinci Wide Gamut, always adjust your Exposure (Offset wheel) and White Balance (Temp/Tint) on nodes placed BEFORE the output CST. This guarantees that highlights roll off smoothly without harsh clipping at 100% IRE.
Frequently Asked Questions
Q: Should I use Rec.709 Gamma 2.4 or Rec.709-A for Mac export?
If your target audience will view your video on Apple MacBooks, iPhones, or iPads via QuickTime and Safari, setting Output Gamma to Rec.709-A prevents the infamous QuickTime gamma shift (washed-out contrast). For TV broadcast and Windows PC viewing, use Gamma 2.4.
Q: Where should I place my creative LUT in the node tree?
Place creative look LUTs after your primary exposure/WB corrections, but before your final Output CST node. Ensure the LUT is designed for DaVinci Wide Gamut input, or place it on a Rec.709 node if it's a standard Rec.709 LUT.
