Skin Tone Perfection in DaVinci Resolve: Vectorscope & Qualifier Guide
Human eyes are hardwired to notice fake skin tones instantly. Learn how to accurately read the Vectorscope skin tone line, isolate skin tones with HSL Qualifiers, and clean up blotchy tones cleanly without destroying background colors.
💡 Essential Rules for Perfect Skin Tones
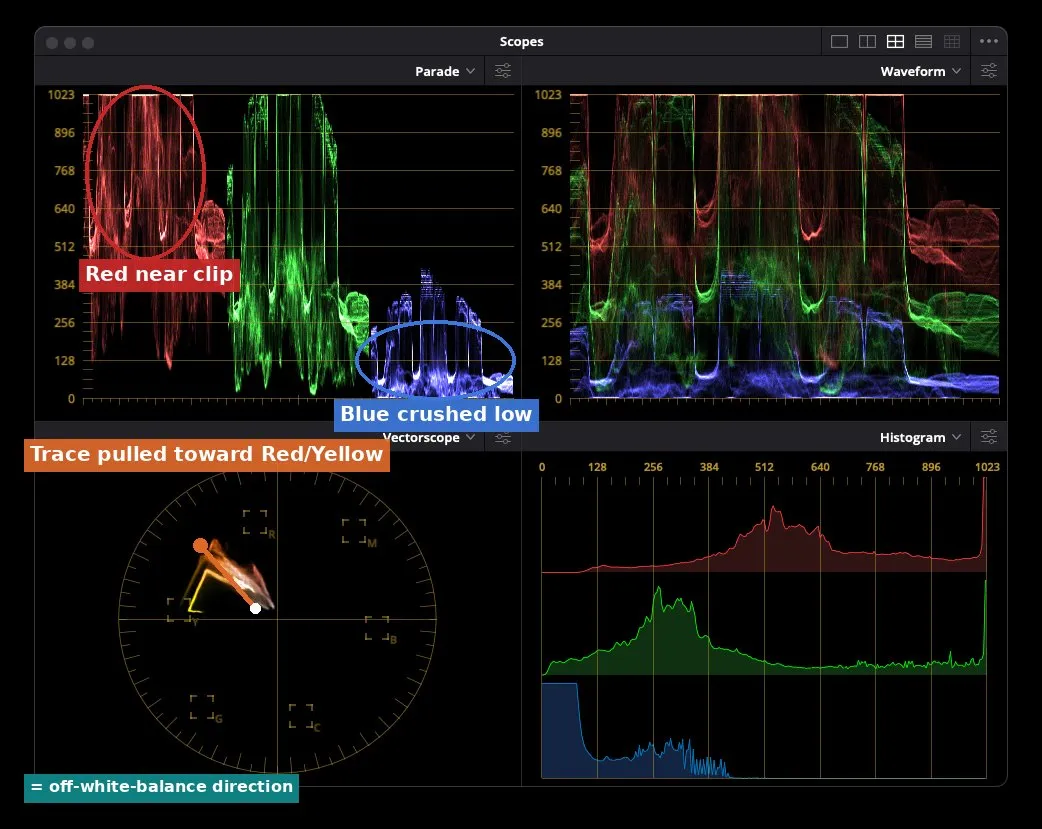
- Skin Tone Indicator Line: Regardless of ethnicity or skin color (fair, medium, dark), human skin tone blood pigment (melanin & hemoglobin) sits precisely on the diagonal line between Yellow and Red on the Vectorscope.
- Luminance Placement: Caucasian skin usually sits between 50-70 IRE, Asian/Hispanic skin around 40-60 IRE, and Dark/African skin between 20-45 IRE on the Waveform.
- Separate Node for Skin: Always isolate skin corrections on a dedicated parallel or serial node using an HSL Qualifier or Power Window.
1. The Vectorscope Skin Tone Line Standard
The single most reliable tool in DaVinci Resolve for skin tone accuracy is the **Vectorscope Skin Tone Indicator**.
To turn it on in DaVinci Resolve:
- Open the Scopes window on the Color Page.
- Select the Vectorscope dropdown.
- Click the settings icon (top-right of scope) and check "Show Skin Tone Indicator".
2. Step-by-Step Node Workflow for Skin Isolation
Never adjust skin tones on your main primary correction node! Doing so will distort your background, walls, and wardrobe. Follow this clean 4-step node pipeline:
📋 The 4-Node Skin Setup
- Node 1 (Primary Exposure & Balance): Balance your overall shot exposure and contrast in DaVinci Wide Gamut before touching skin tones.
- Node 2 (HSL Qualifier Skin Mask): Select the Eyedropper tool under the HSL Qualifier palette. Click on the subject’s cheek or forehead. Adjust Hue, Saturation, and Luminance sliders to isolate skin while softening edges with Matte Finesse (Blur 10-15, In/Out Clean).
- Node 3 (Skin Tint & Saturation Adjustment): Use the Gain or Offset color wheel to gently nudge skin color directly onto the Vectorscope skin line. If skin looks overly red or green, push the wheel toward cyan or magenta slightly.
- Node 4 (Midtone Detail & Texture Smoothing): To smooth out minor skin blemishes naturally without looking like a fake blur filter, set Midtone Detail to between
-10.0and-20.0on this node.
3. Fixing Green & Magenta Color Casts on Skin
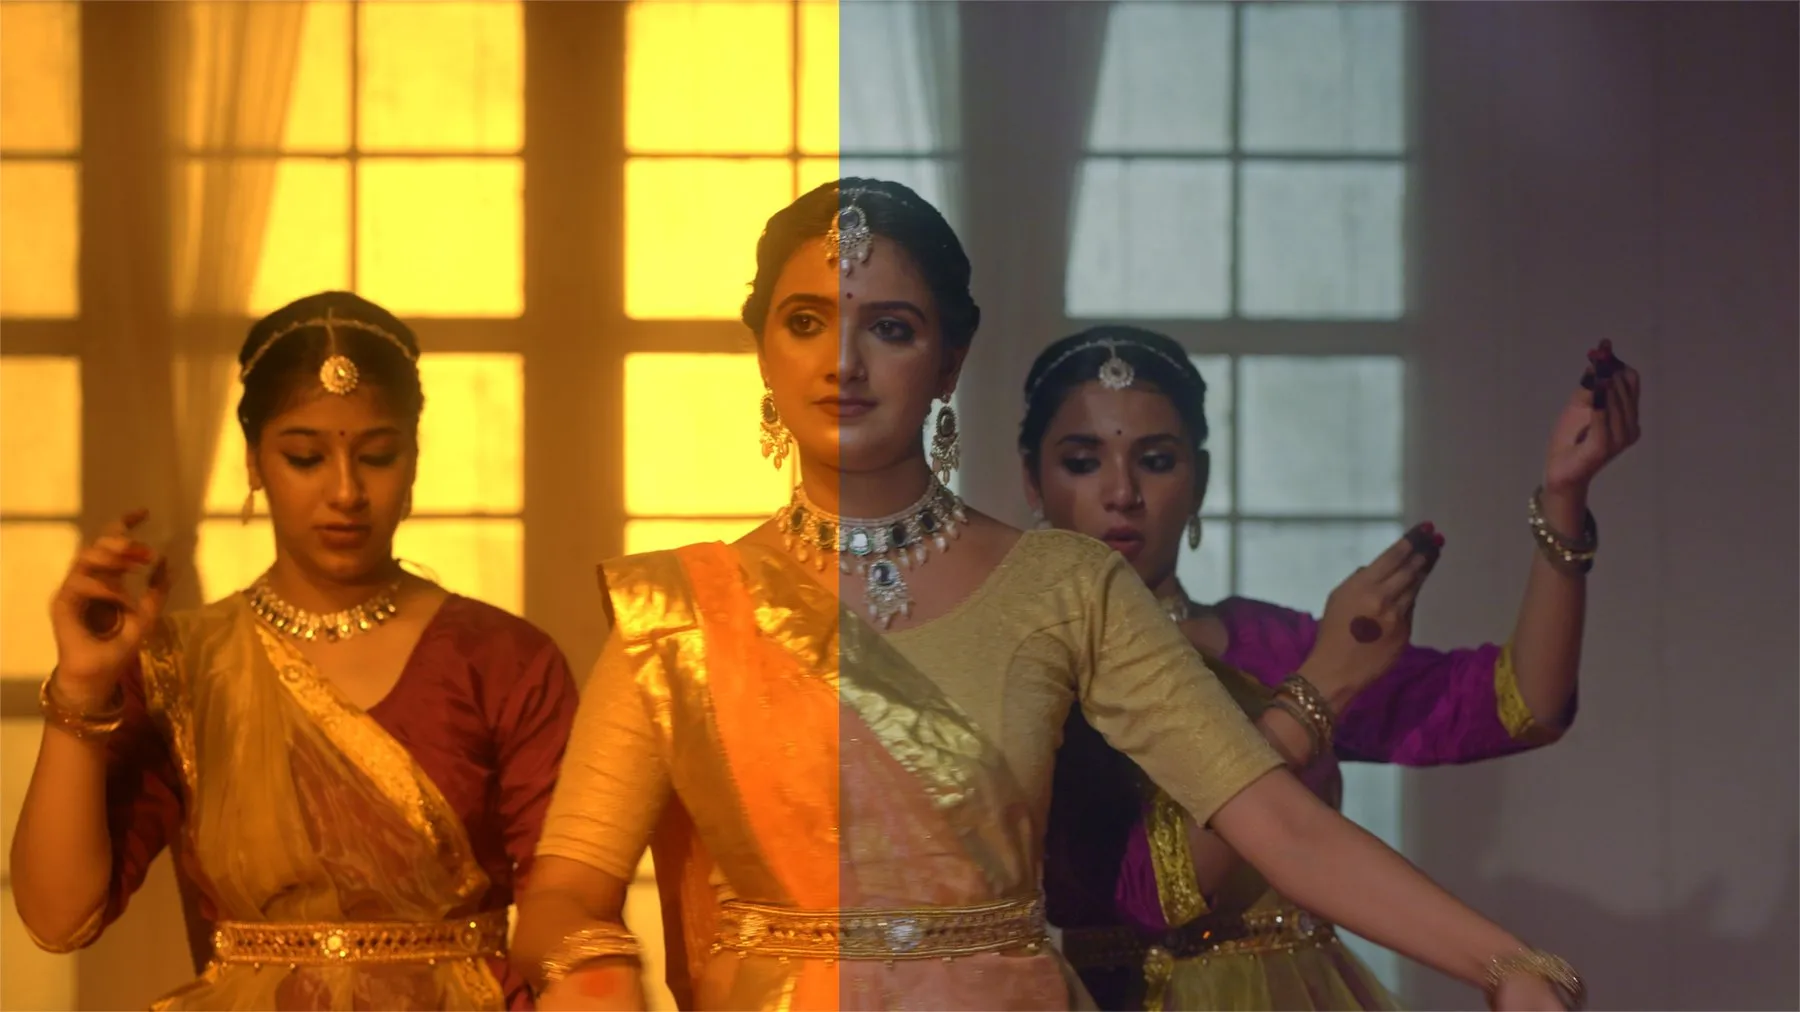
Cheap LED studio lights and fluorescent venue lighting frequently cast sickly green or magenta hues onto actor's faces. Here is how to fix them quickly:
🟢 Fixing Green Skin Cast
If skin sits above the skin line toward Green: In your skin node, move the Tint slider +3 to +8 toward Magenta, or nudge the Gain wheel slightly toward Red-Magenta.
🔴 Fixing Too-Red / Sunburned Skin
If skin sits below the skin line toward Red: In your skin node, use the Hue vs Hue curve to pull red hues slightly toward orange, and lower Red Saturation using Hue vs Sat.
💡 Skin Retouching Tip: Frequency Separation
In DaVinci Resolve Studio, use the Face Refinement FX or Frequency Separation DCTL to separate high-frequency skin texture (pores) from low-frequency skin color (blotchy patches). Smoothing low-frequency color while keeping high-frequency texture intact creates high-end beauty shots without making subjects look like plastic dolls!
Frequently Asked Questions
Q: Does ethnicity change where skin falls on the Vectorscope?
No! Melanin and hemoglobin blood pigments sit on the exact same hue line for all humans. What changes between fair and dark skin tone is Luminance (brightness level on Waveform) and Saturation (distance from center point), not the Hue angle!
Q: What is the fastest way to check skin isolation in DaVinci?
Press Shift + H on your keyboard while selecting your skin qualifier node. This toggles the Highlight Wand view, showing your isolated skin in color while turning everything else black-and-white.
